How To Improve Audio Room Acoustics for the Best Sound Experience
Crafting the ultimate audio experience in your listening space involves more than just splurging on top-tier speakers or amplifiers. Your room’s acoustics are equally crucial, playing a vital role in defining the sound quality you experience.
This guide explores practical steps to boost and refine your room’s acoustics, ensuring an immersive listening experience that rivals a professional recording studio or movie theater. Read on for more!
Understanding the Basics of Room Acoustics
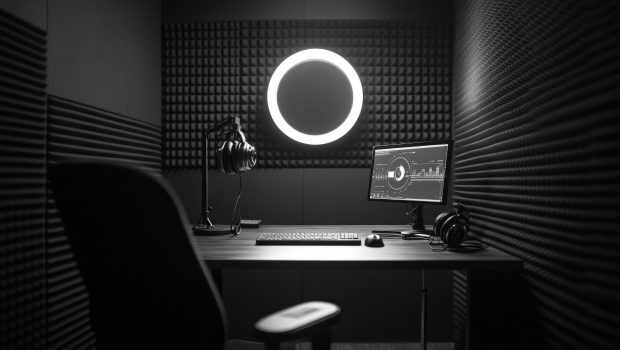
Whether you’re designing a home theater, setting up a podcast recording studio, or creating a dedicated listening room, tackling acoustic challenges can make a huge difference in delivering world-class performance.
Sound waves interact with your room’s physical space, bouncing off walls, ceilings, and floors. These sound reflections can either enhance or degrade your audio experience. Reflective surfaces like glass walls or parallel walls can create standing wave resonances, leading to uneven bass response and poor acoustics. On the other hand, soft surfaces and absorptive materials can help control these reflections, improving sound quality.
The aim is to craft a well-balanced acoustic space where the sound from your speakers travels directly to your listening spot, free from overwhelming echoes or reflections. This way, you get clean, dependable audio that stays true to the original recording—whether you’re jamming to music, getting lost in a movie, or tuning into your favorite podcast.
Key Steps to Improve Room Acoustics
Transforming your room into an optimal listening environment requires a strategic approach to managing sound waves and reflections. Here are some of the ways you can improve your room acoustics:
1. Proper Speaker Placement
Where you place your speakers makes a huge difference in getting the best sound. Start by setting up your bookshelf or speakers at ear level, arranging them in an equilateral triangle with your primary listening spot. Get this setup right, and you’ll find a sweet spot where you get the best sound—clear, balanced, and spot-on.
Meanwhile, avoid placing speakers too close to reflective walls or parallel surfaces, as this can cause bass resonances and muddy midrange frequencies. If you’re using planar speakers or a range of speaker systems, experiment with speaker positions to find the ideal starting point.
2. Use Acoustic Panels and Bass Traps
Acoustic panels are practical materials for controlling midrange and high-frequency reflections. Place them on the rear wall, side walls, and ceiling surface to reduce sound reflections and create a more natural sound-absorbing environment.
Bass traps are essential for low-frequency sounds. These dense materials absorb bass energy, addressing horrible room modes and improving bass response. The best place for bass traps is in room corners, where bass frequencies tend to accumulate.
3. Fine-Tune Your Listening Spot
Your listening spot should be carefully chosen to avoid hot spots and standing wave resonances. A good rule of thumb is to position your seating at the mid-height of the image, ensuring proper frequency response across all seating positions.
If your room has irregular surfaces or glass walls, you can add absorptive panels or acoustic tiles to better control noise.
4. Control Reflective Surfaces
Reflective walls and parallel surfaces can create unwanted sound reflections, degrading audio fidelity. To counter this, soft materials like plush seating, curtains, and carpets can help absorb excess sound energy. For a more professional approach, use absorptive panels or acoustical modules to treat reflective surfaces.
5. Test and Calibrate Your System
Use proper test signals, such as pink noise or noise test signals, to evaluate your room’s acoustical properties. Meanwhile, digital room correction equalization (DRC) or a digital signal processor equalizer can help fine-tune your system’s audio output, ensuring an optimal listening environment.
You can also adjust channel level trims and correction filters to balance the sound across all seating locations. This step is practical for home theaters, where surround decoders and immersive sound systems require precise calibration.
With careful attention to these fundamentals, you’ll be well on your way to enjoying captivating, high-quality sound in your listening space.
Advanced Tips for Exceptional Sound
Once you’ve mastered the basics, these expert tips can help you refine your listening space and achieve audio nirvana:
- Ceiling height and acoustics: If your room has high ceilings, consider installing acoustical ceiling tiles to reduce sound transmission and improve audio quality.
- Bass absorption: Experiment with different kinds of bass traps to address bass-light or bass-heavy rooms.
- Digital equalization: Use a combination EQ or digital equalizer to correct frequency imbalances and achieve high-quality results.
- Seating arrangement: Opt for seats with upholstery to reduce noise transmission and enhance the entertainment experience.
By putting these advanced tips into action, you’ll get the most out of your audio setup and dive into a remarkably entrancing listening experience.
Conclusion
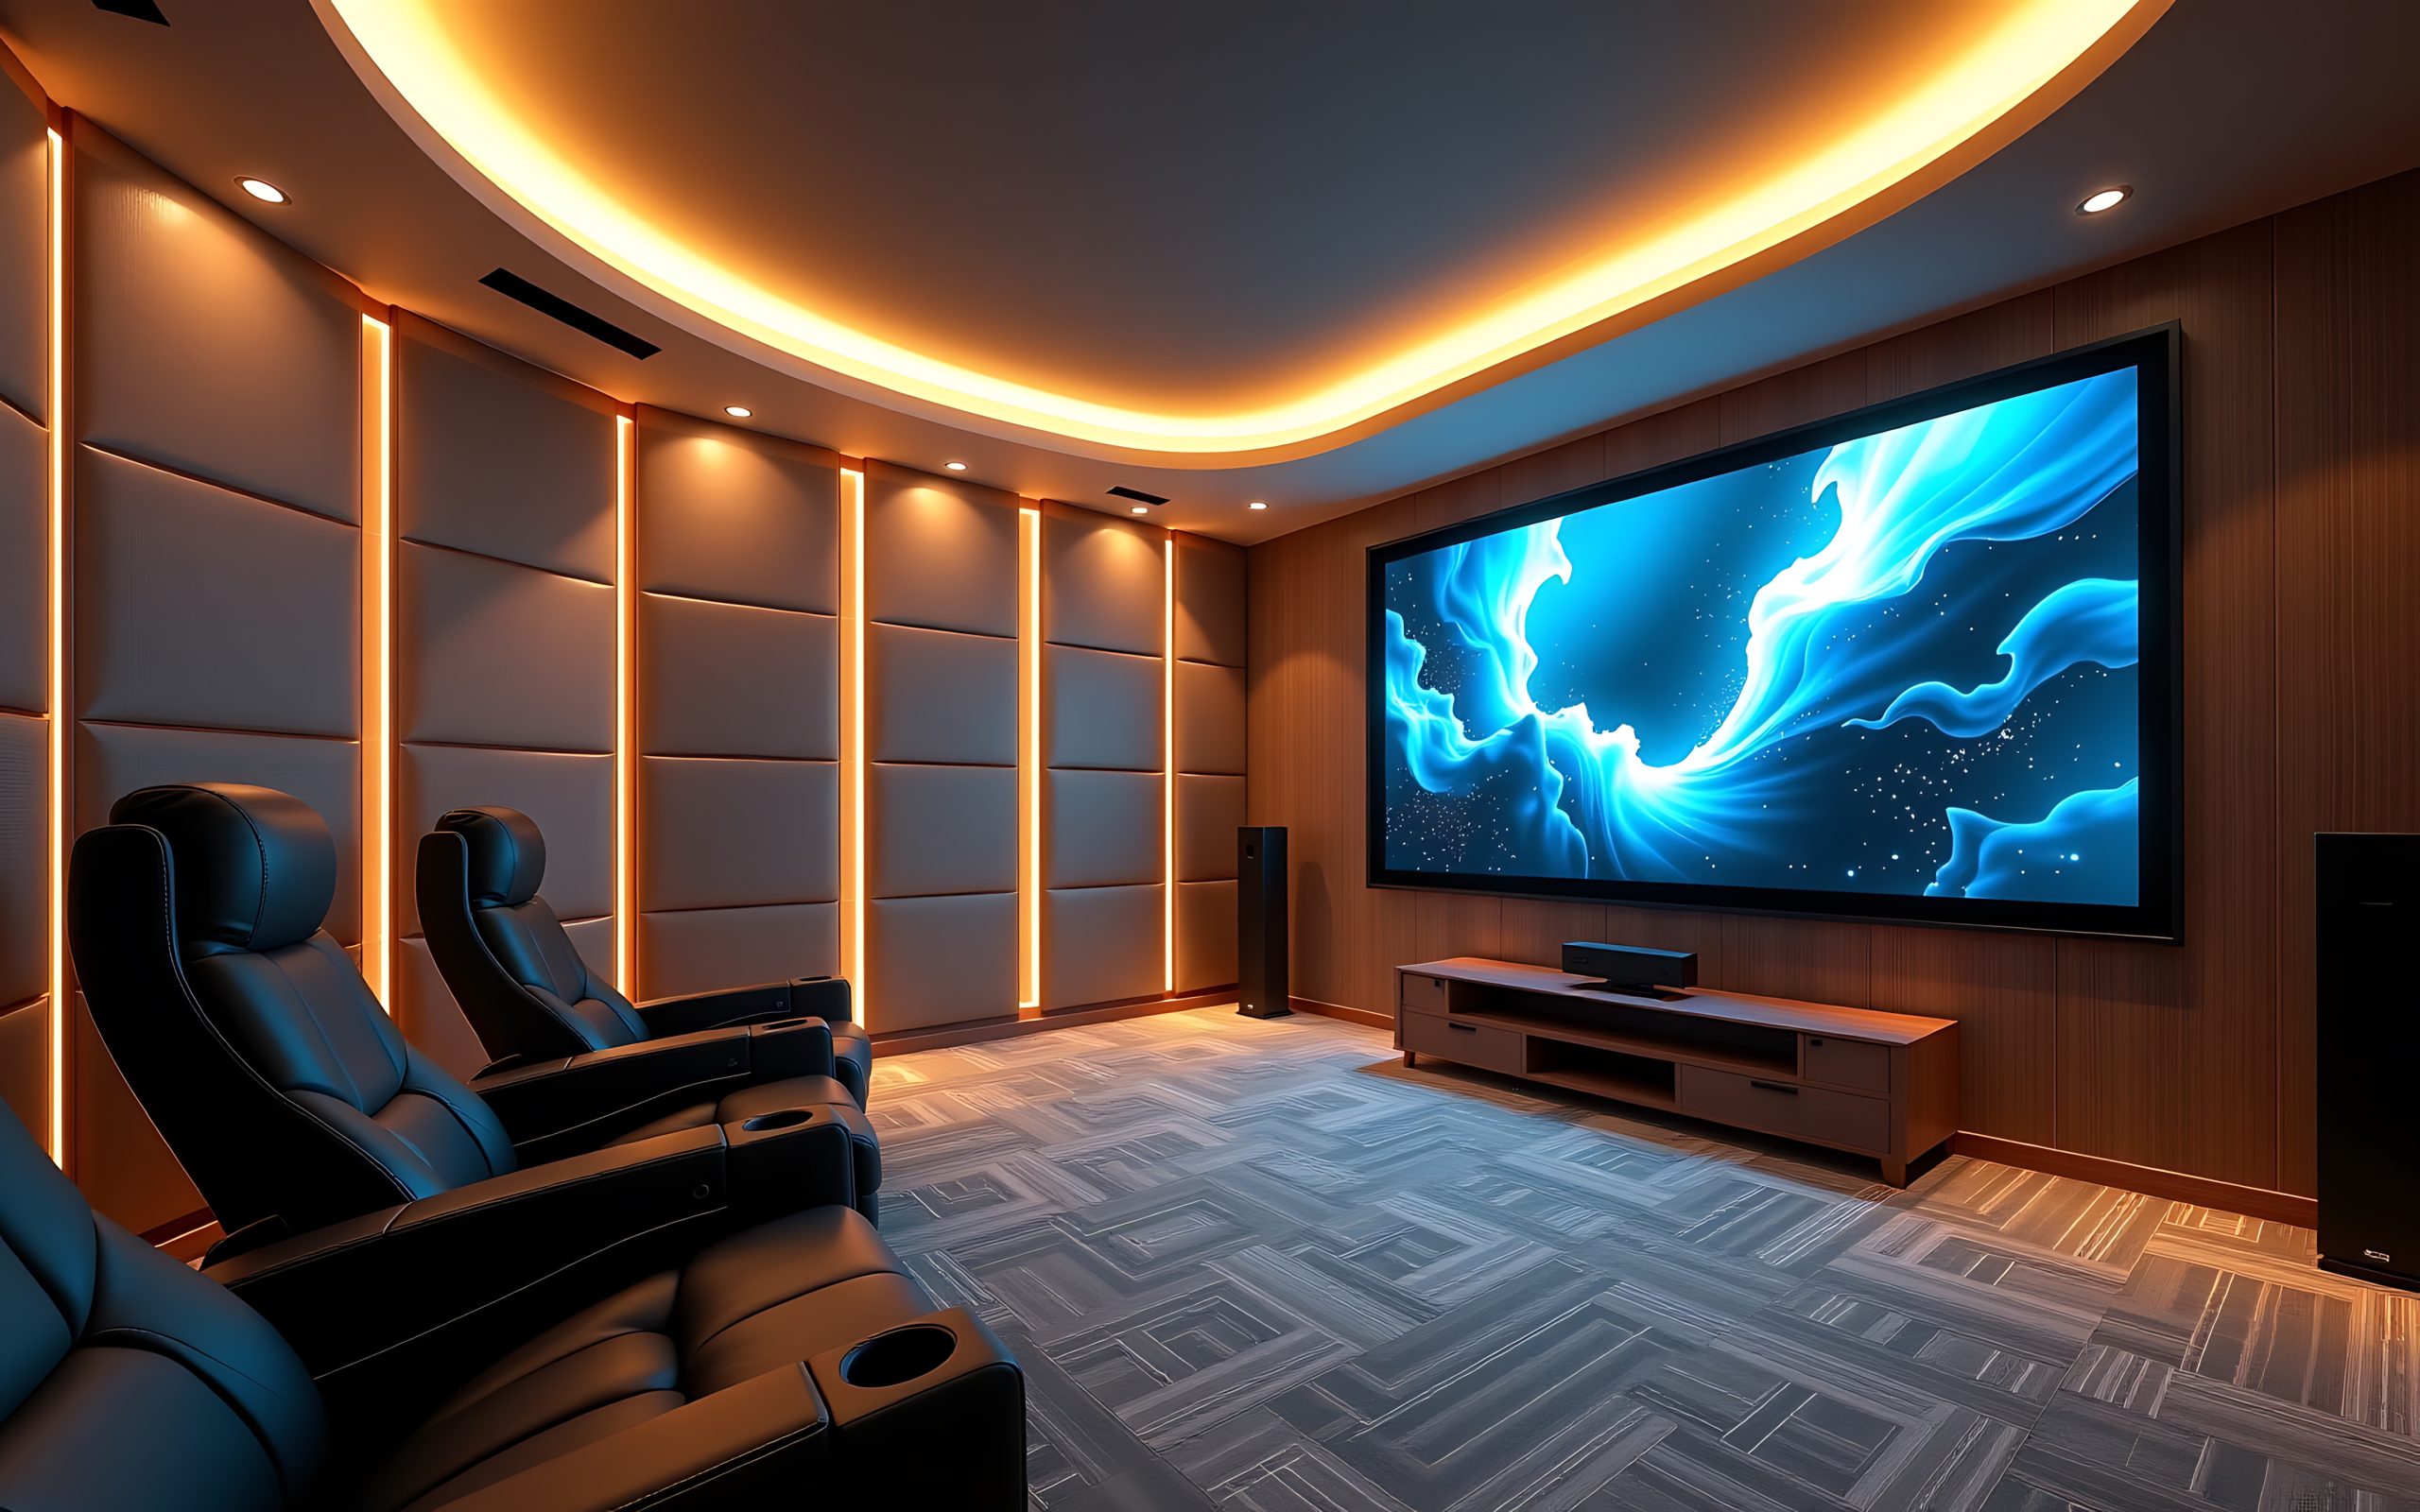
Improving your room’s acoustics doesn’t require audio engineering chops or a massive budget. By following these simple rules and addressing common acoustical issues, you can transform your listening space into an audio nirvana. Whether you’re aiming for the perfect home theater experience or a podcast recording studio, proper speaker placement, bass traps, and acoustic panels can make a deal of difference.
With the right approach, you’ll enjoy a top-notch listening experience that delivers exceptional sound, bringing you closer to the original sound intended by artists and filmmakers. So, take the time to optimize your room’s acoustics, and let your favorite program material shine in all its glory.
TweetAbout the Author
Jameelah "Just Jay" Wilkerson Publisher and CEO of The Hype Magazine. Follow me on Twitter @HypeJustJay
Related Posts

AI Detectors: Balancing Trust and Innovation →

Serato Unveils Hex FX: A Game-Changing Multi-FX Plugin with 45+ Effects & 100+ Presets →

The Long-Term Benefits of Student Loan Refinancing_ How It Helps You Achieve Financial Stability →


![Will Rawls [siccer] stage performance - Photo by Jared Sorells.](jpg/will-rawls-siccer-stage-performance-photo-by-jared-sorells-50x50.jpg)